This post describes the creation of a simple Java application and Flare project and HTML5 output to demonstrate opening a Flare HTML5 help topic with a button click or an F1 keypress from a Java application. This is a “hello world” level example.
Downloads:
- Zipped (Flare-style) Flare project for test HTML5 help
- Zipped copy of generated HTML5 help system for test
- Zipped NetBeans Java application project for test Java application
MadCap provides conceptual information and instructions for programmers and authors about how to configure applications to use context sensitive help with Flare HTML5 outputs. This post covers some of that workflow. The example is less complicated but not as flexible as MadCap’s suggested workflows. However this post goes into greater detail about how to connect an application to HTML5 help in the context of a Java application.
MadCap Software: CSH Calls for HTML5 Output (WebHelp 2.0)
The example Java and Flare projects are configured such that the application opens a URL for the Flare HTML5 output using the CSHID number in the URL For simplicity, the CSHID number value used is 1 and the topic is Topic.htm (topic.htm in the sample output). Additional calls to open help can be added with the same technique. For more information about CSHID and CSH calls, see the preceding link.
With the arrangement established by the samples in this post, a Flare author would manage the mapping of ID numbers to topics. A programmer would call the same function for every help button click or F1 press and pass the desired ID number. No lookup is necessary on the Java application side. A programmer only needs to know which values to use for actions and UI locations in the application. There is no need to supply a properties file to a programmer with this setup. One possible workflow is the author informs a programmer which IDs to use and the programmer implements those. Another workflow is a programmer assigns IDs and the author updates the Flare project to map those IDs to the topics. Either way the mapping is managed through the Flare HTML5 system.
Other scenarios may be explored in subsequent posts. The Flare documentation describes a workflow in which a copy of a header or a properties file is used by the application so that the application is aware of the mapping between the ID name and number. That workflow adds some flexibility. But that workflow is not demonstrated in this post.
Create a Java Application with NetBeans
This example uses NetBeans to create the Java sample. The steps use the IDE options so that those who do not program regularly with Java can replicate the steps more easily. However designing forms in an IDE such as NetBeans involves a reliance on the mechanisms the IDE uses to generate code. For example a NetBeans project with a JFrame form may contain an additional XML file with a .form extension to facilitate form building. The Java class for the JFrame is sufficient to run the program. But the .form file is required for the form designer in NetBeans.
NetBeans wiki: What is the .form file?
- Install NetBeans. This example was created on a computer running Windows 8 with Java, the Java Development Kit, and NetBeans installed. https://netbeans.org/
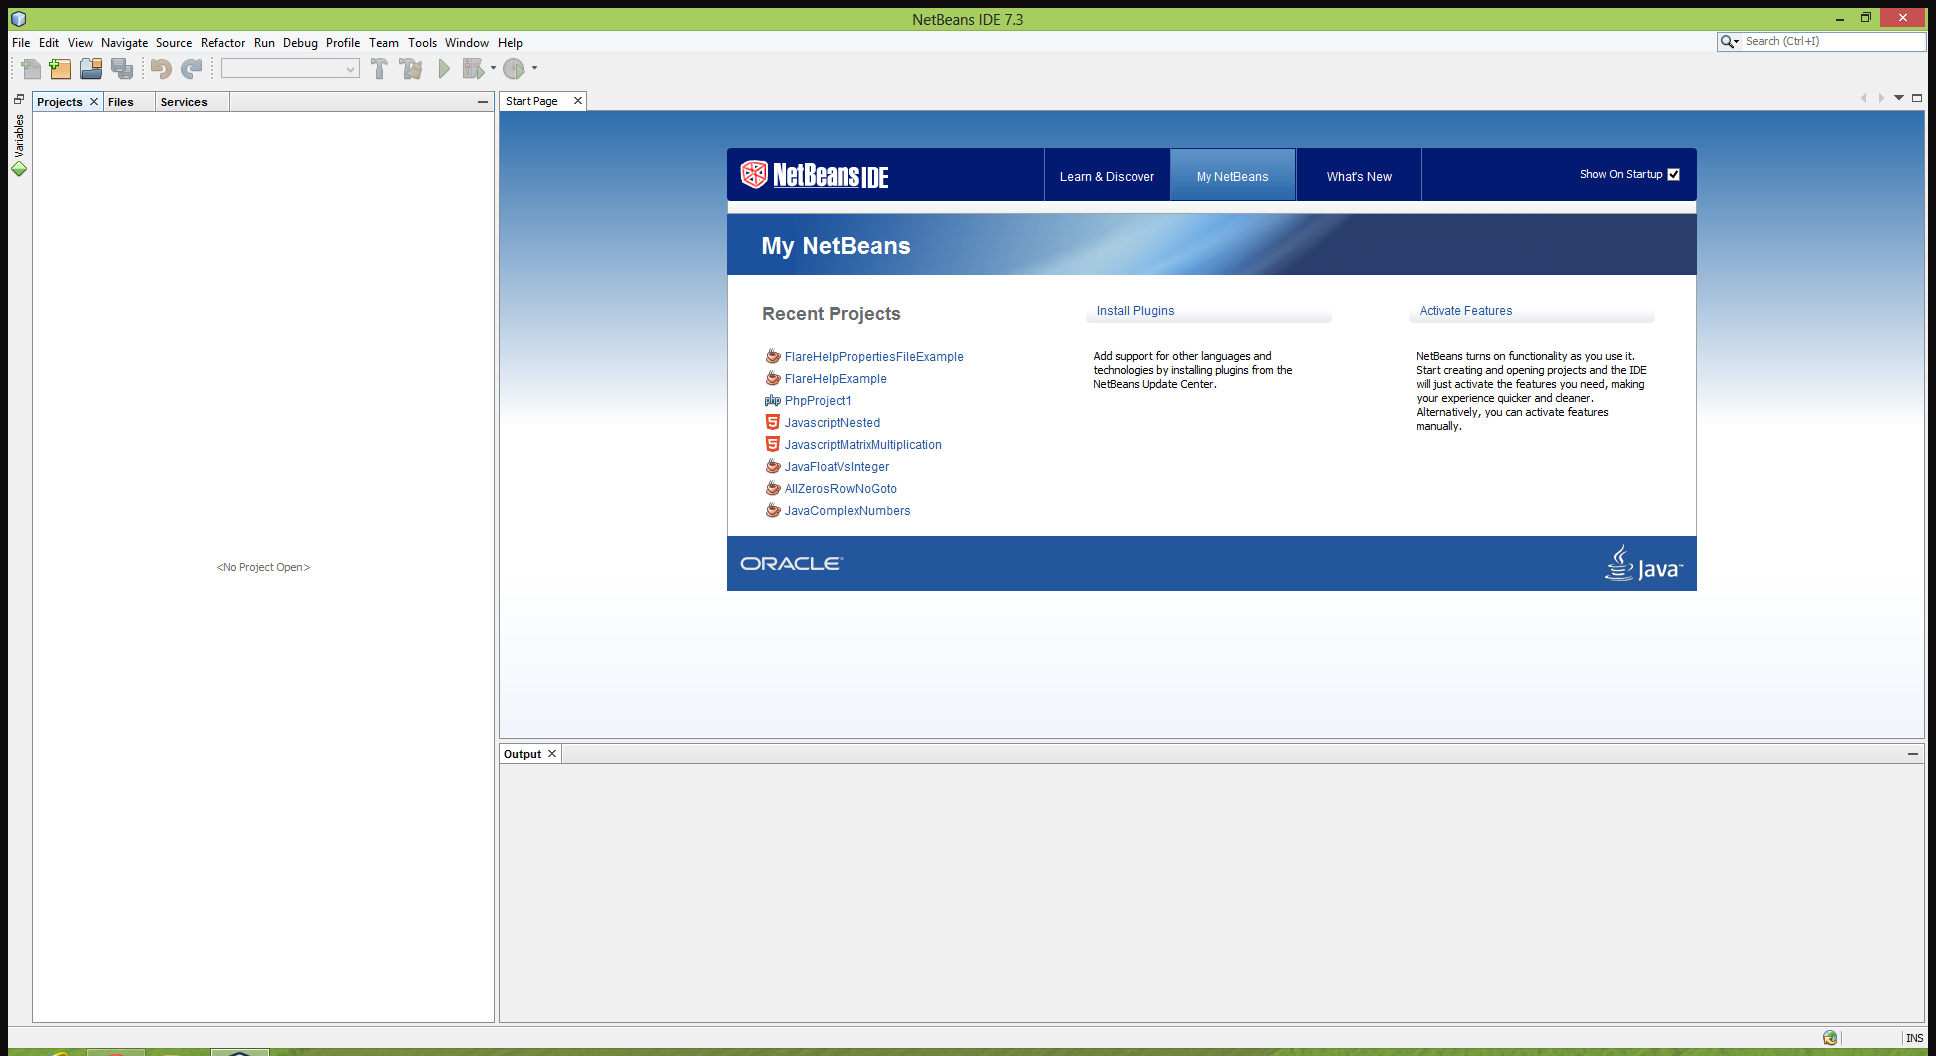
- From the menu, select File > New Project. The New Project screen appears.
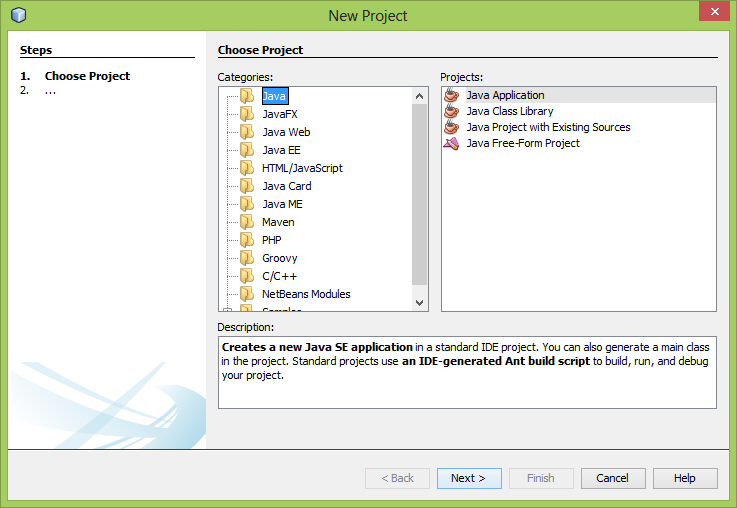
- Select Java Application.
- Click Next.
- Enter a project name such as JavaAppFlareHtml5Help.
- Click Finish.
Add a JFrame Form to the Application
The window user interface for this example is implemented with a JFrame. The steps which follow describe adding a a JFrame to a Java project in NetBeans.
- Right-click the package and select New > JFrame form.
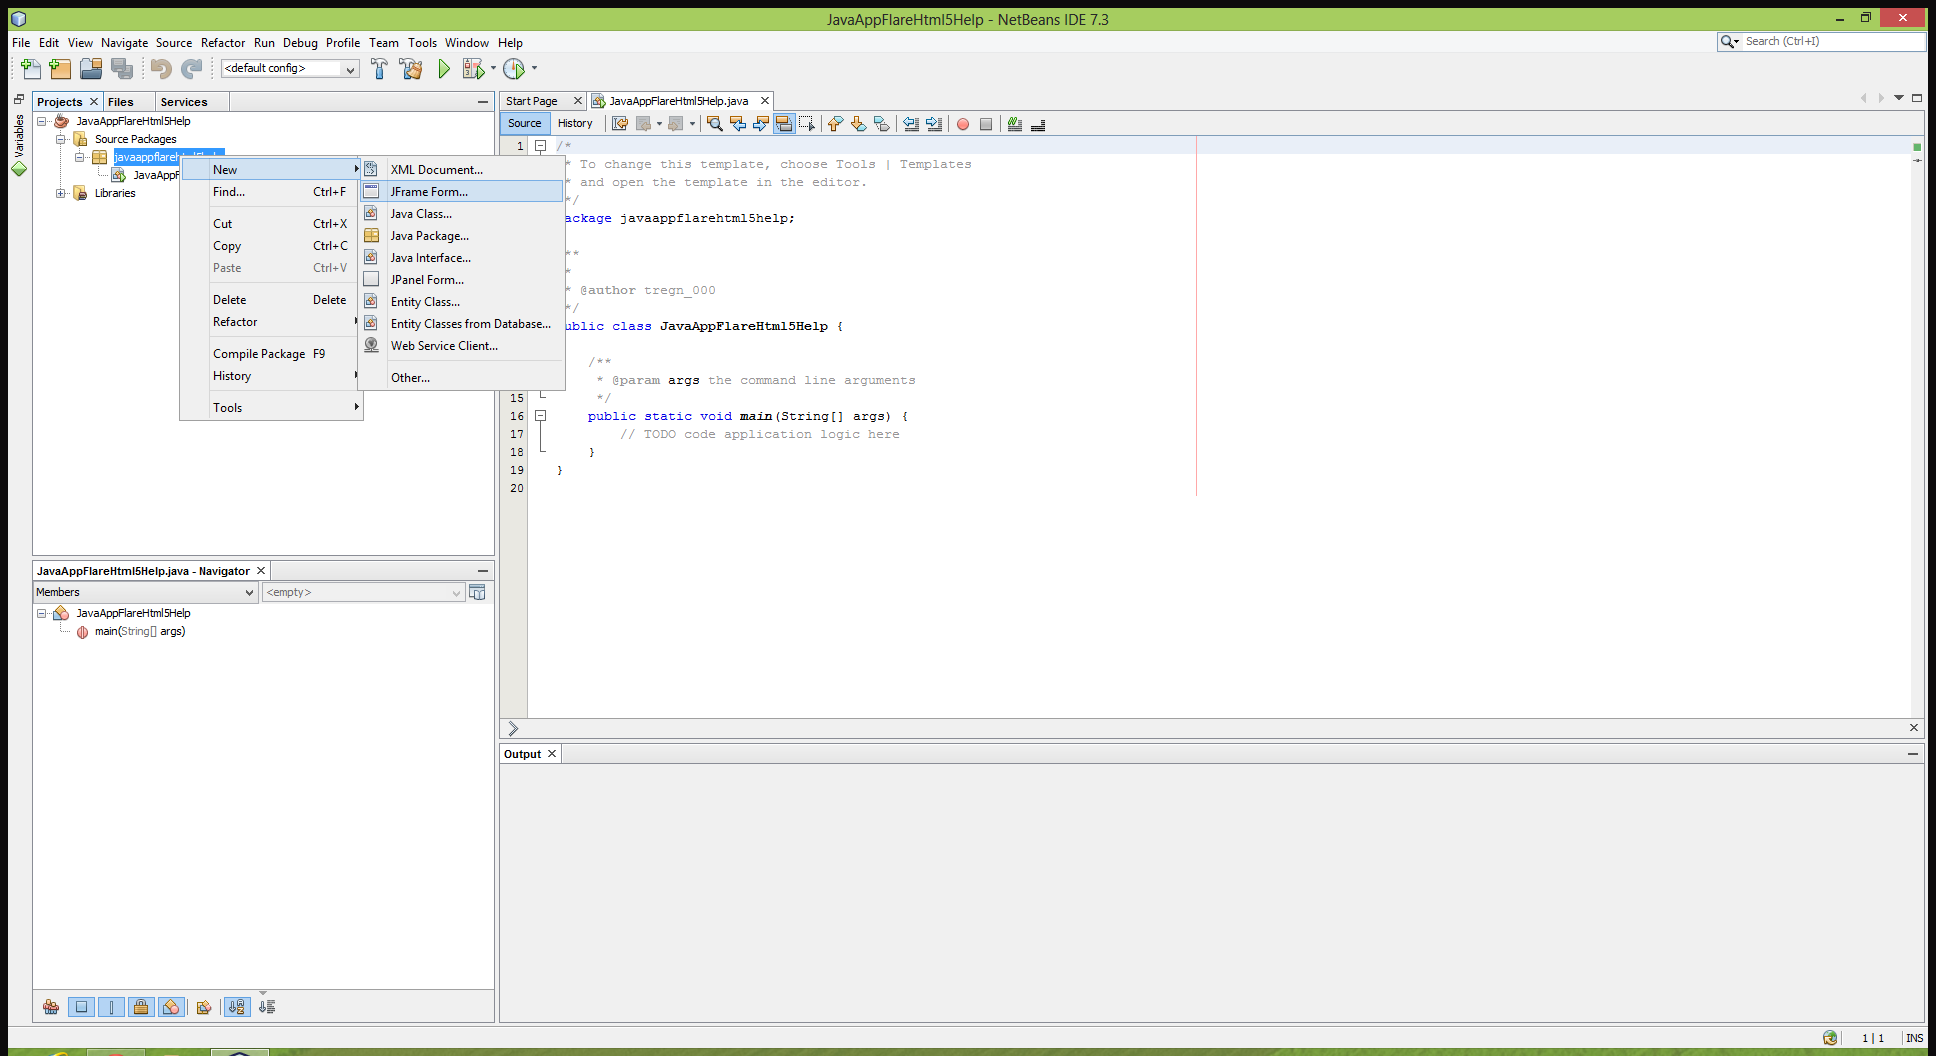
The New JFrame Form screen appears.
- Enter a class name such as JFrameHtml5Example.
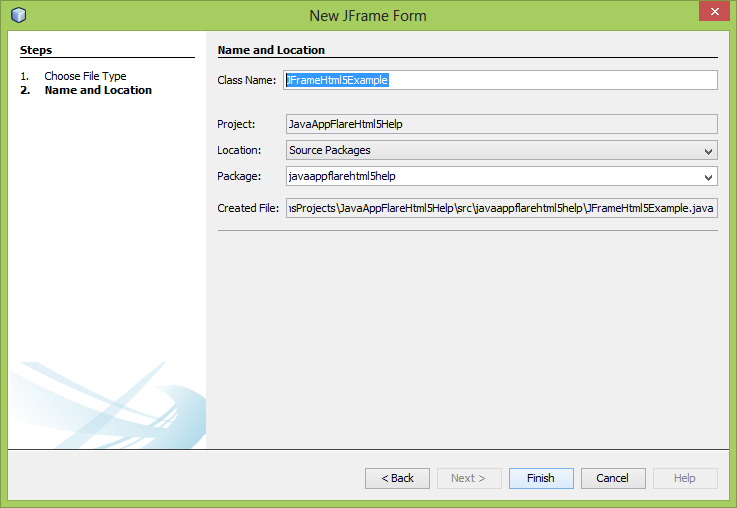
- Click Finish.
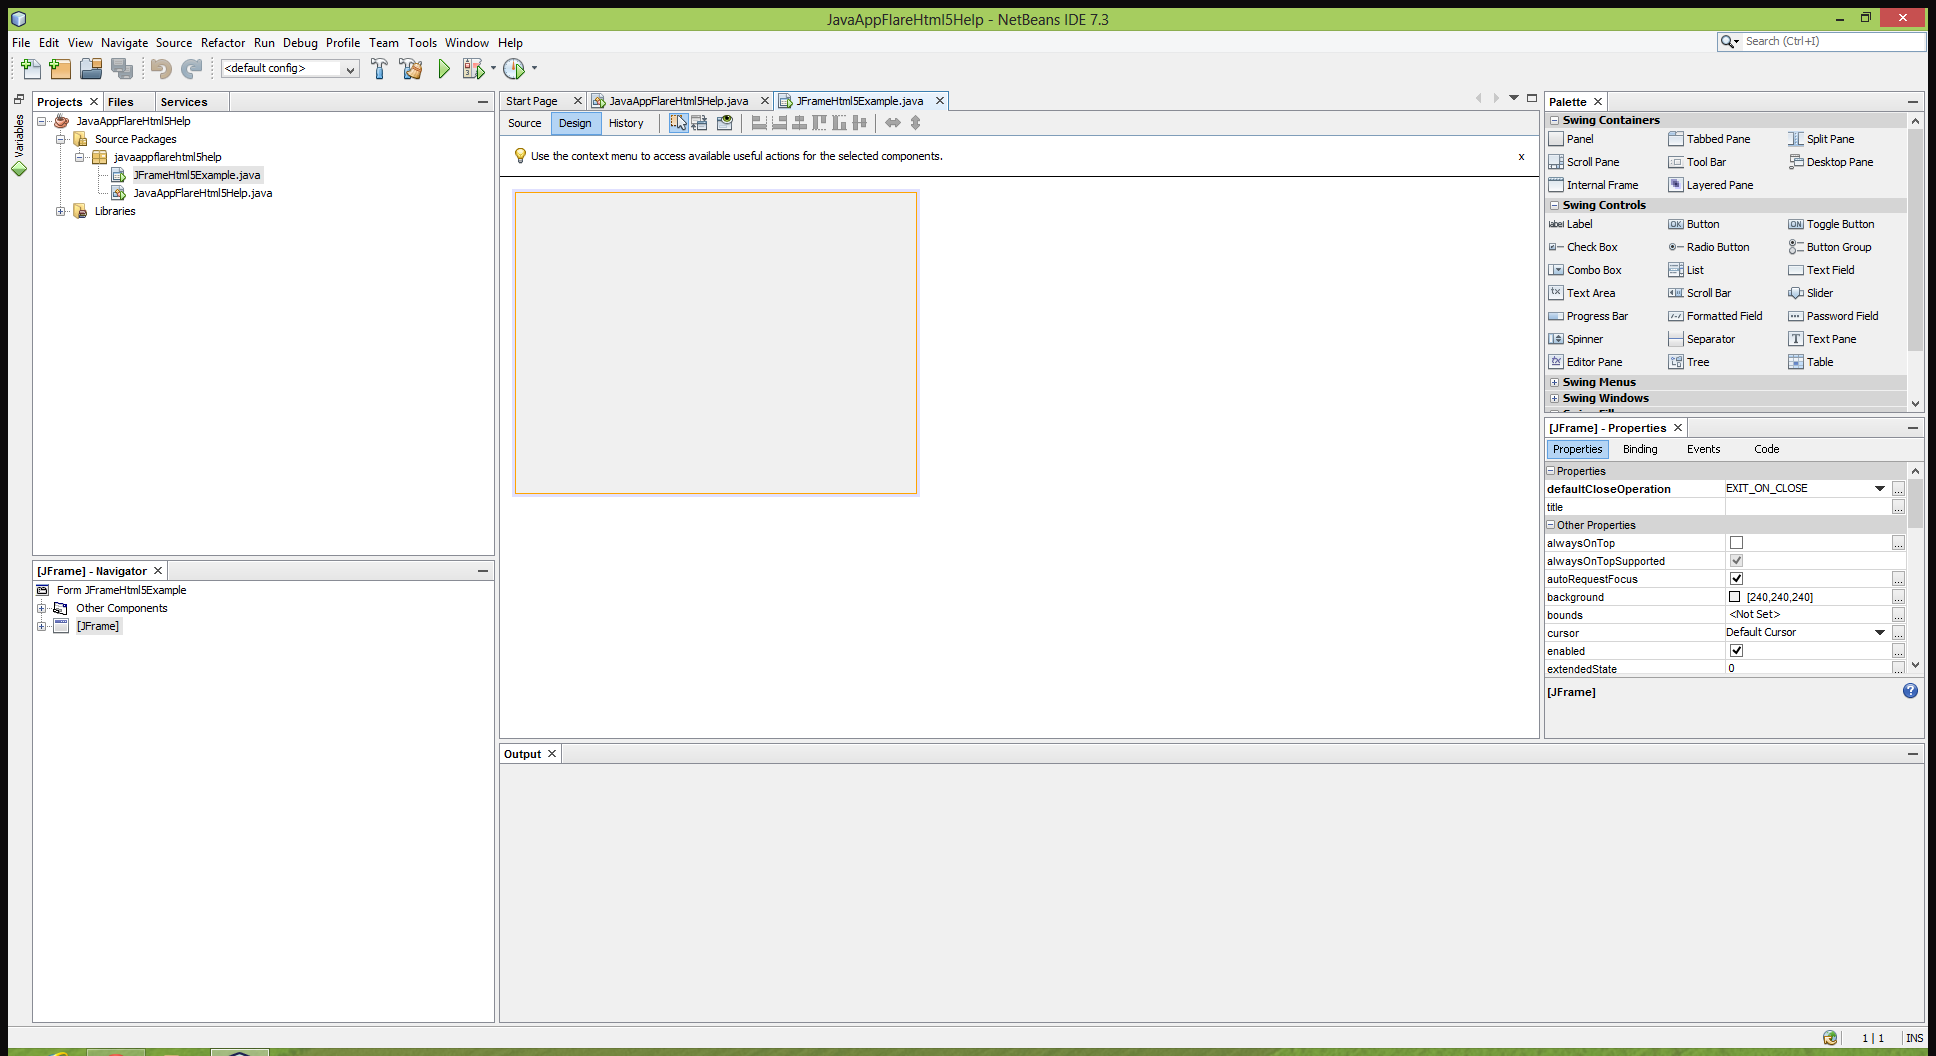
- The JFrame designer appears in NetBeans.
Add a JLabel and a Help JButton to the JFrame
The JLabel is just an embellishment for this example to place some text on the JFrame. The JButton provides an interface to click to show a help topic.
- Drag a JLabel from the palette to the designer. JLabel is located under Swing Controls on the palette and is indicated as Label. This and the next step are not necessary to demonstrate opening help.
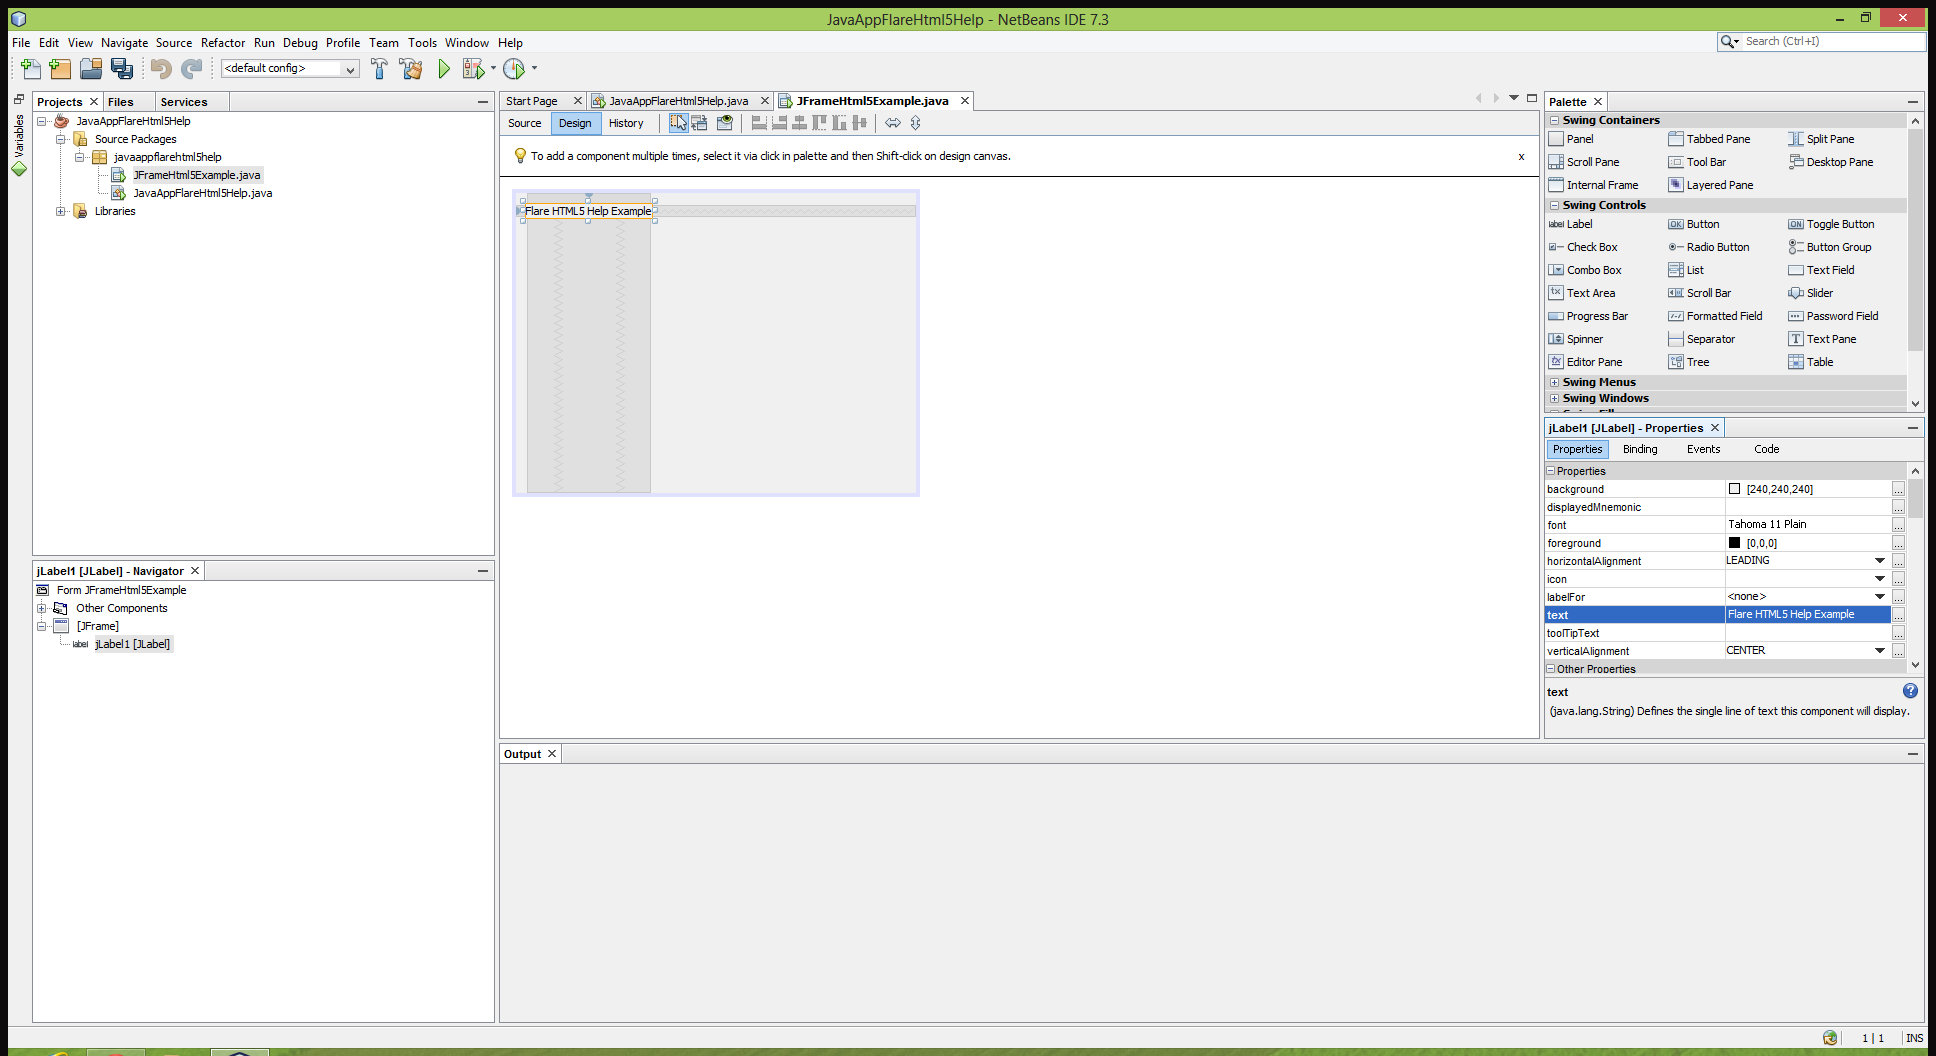
- From the properties screen for the JLabel, change the text to Flare HTML5 Help Example.
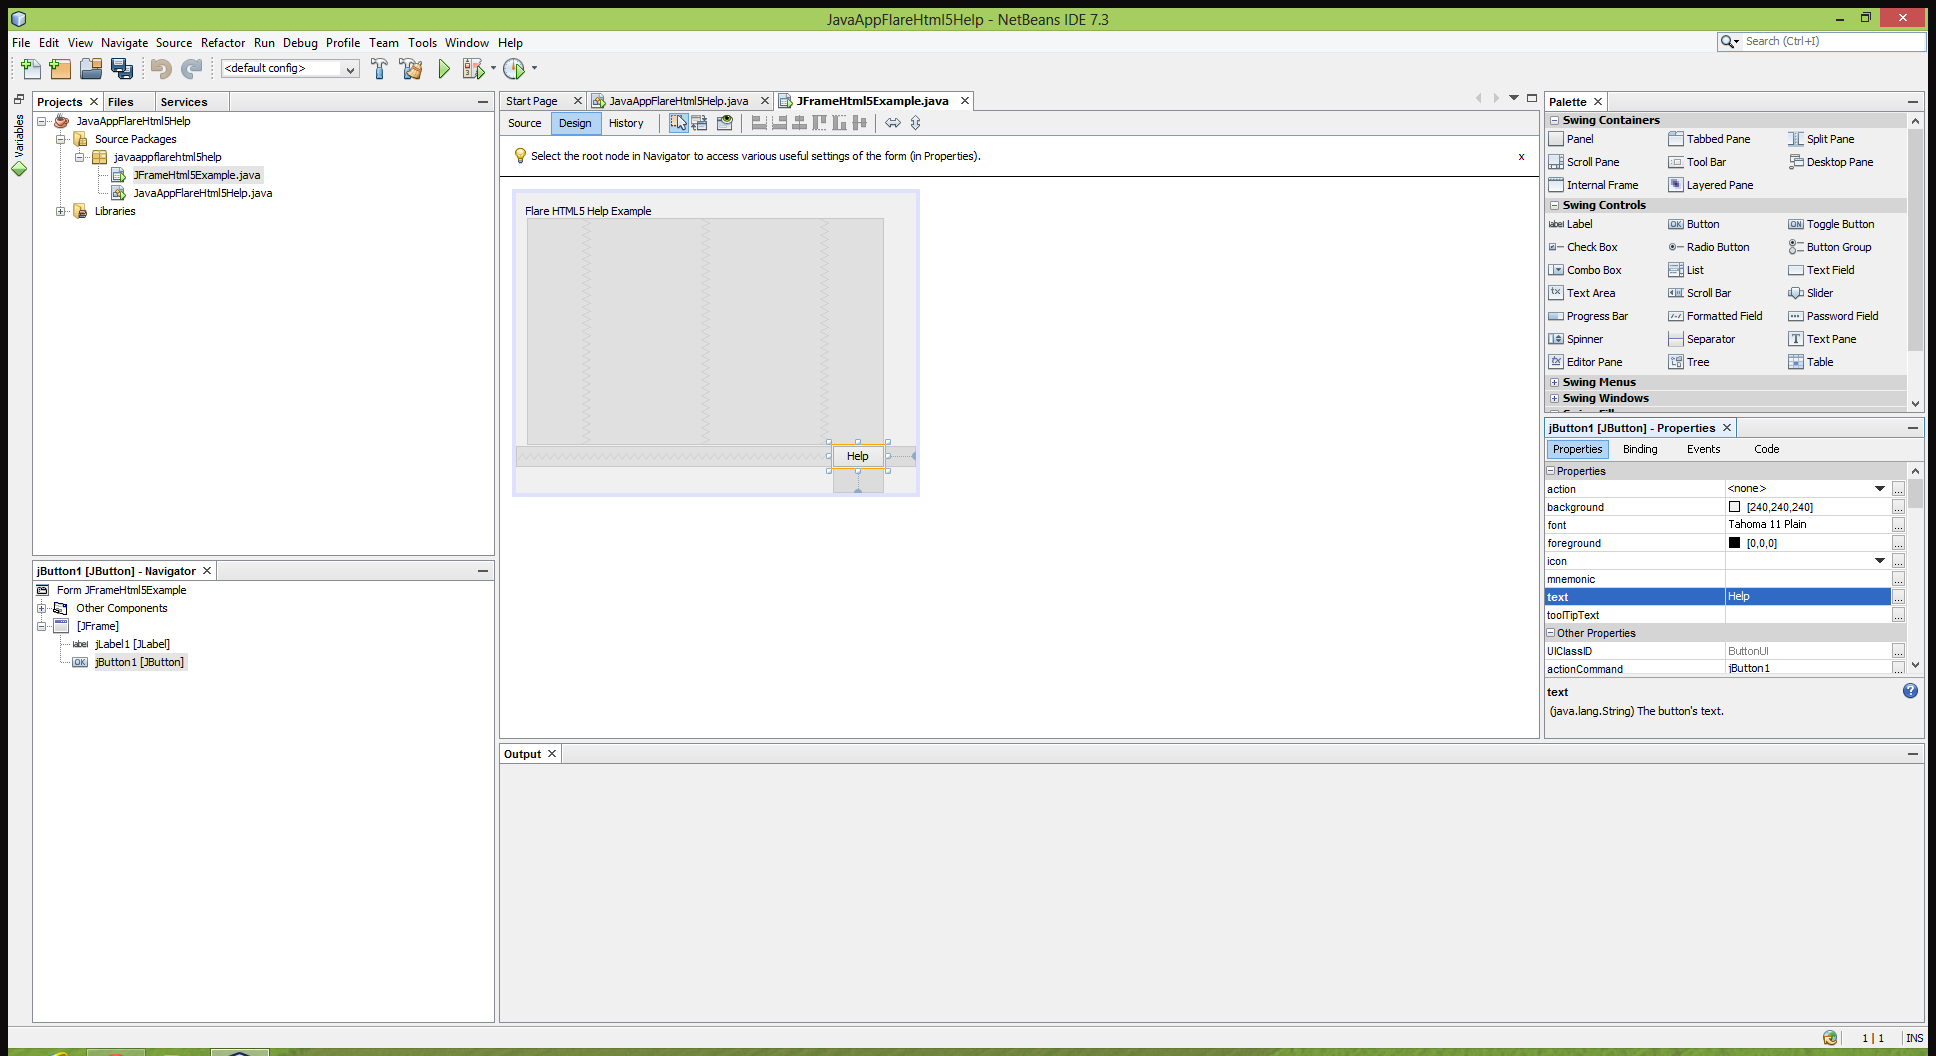
- Drag a JButton from the palette to the designer. JButton is located under Swing Controls and is indicated as Button.
- From the properties screen for the JButton, change the text to Help.
- Double-click the button in the designer. The code for the action event appears in the code editor. Call a yet-to-be-defined function called showHelp and pass a string value of 1.
    private void jButton1ActionPerformed(java.awt.event.ActionEvent evt) {
        showHelp("1");
    }
Add F1 Events
To create F1 behavior, a handler must be added for every control on the form which should cause help to open when F1 is pressed. In this case the only control to worry about is the JButton since it is the only control which can be active. By default, JLabels cannot be activated. A handler is also added to the JFrame itself.
- Java Platform Reference: keyPressed Method
- Java Platform Reference: Class EventHandler
- Java Platform Reference: Constant Values
- To add a keyPressed event for the JFrame and the JButton, from the properties screen for each, click the ellipses next to keyPressed under Events. The Handlers for keyPressed screen appears. The screen shot shows the screen after the event has been added.
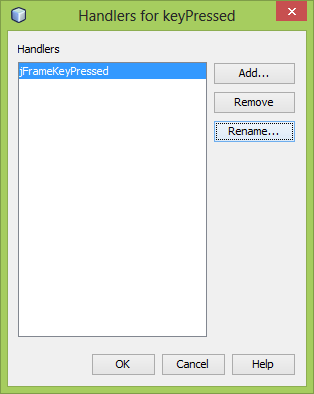
- Click Add.
- The Add Handler screen appears.
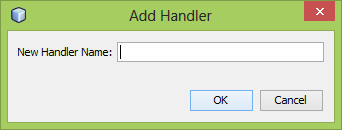
- Enter a name such as jFrameKeyPressed and click OK.
- The handler code appears in the code editor. Call the yet-to-be-defined showHelp method from the handler for the case where F1 is pressed. The constant value for the F1 keycode in Java is 112. Wrap the call to showHelp in a conditional that checks for that value.
    private void jFrameKeyPressed(java.awt.event.KeyEvent evt) {
        if (evt.getKeyCode() == 112){
            showHelp("1");
        }
    }

    private void jButtonKeyPressed(java.awt.event.KeyEvent evt) {
        if (evt.getKeyCode() == 112){
            showHelp("1");
        }
    }
Add Methods to Open Help
The technique employed in this example relies on a call to a showHelp method within every event and handler that should cause help to open. The context for the help comes from the ID passed to showHelp. The showHelp method appends the ID to a base URL for the help system. The base URL is the path to the main help file followed by #cshid=. Once the URL is built, it is passed to a method to open a web page.
Stack Overflow: Open a Link in Browser with Java Button
- Add methods to open a web page from the Java application. You can paste these into the class for the JFrame.
-
public void showHelp(String key){ URI uri; try { uri = new URI("http://tregner.com/example-projects/java-app-help/java-app-help.htm#cshid=" + key); openWebpage(uri); } catch (URISyntaxException ex) { Logger.getLogger(JFrameHtml5Example.class.getName()).log(Level.SEVERE, null, ex); } } //see: http://stackoverflow.com/questions/10967451/open-a-link-in-browser-with-java-button public static void openWebpage(URI uri) { Desktop desktop = Desktop.isDesktopSupported() ? Desktop.getDesktop() : null; if (desktop != null && desktop.isSupported(Desktop.Action.BROWSE)) { try { desktop.browse(uri); } catch (Exception e) { e.printStackTrace(); } } } public static void openWebpage(URL url) { try { openWebpage(url.toURI()); } catch (URISyntaxException e) { e.printStackTrace(); } } - If the above code is pasted into the class file and there are not imports for the classes on which the methods depend, the Import Classes screen appears. These are the imports required for the example:
import java.awt.Desktop;
import java.net.URI;
import java.net.URISyntaxException;
import java.net.URL;
import java.util.logging.Level;
import java.util.logging.Logger
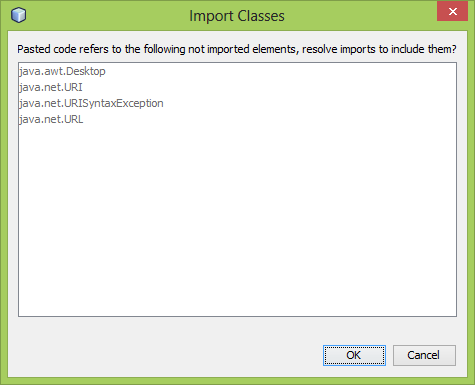
- Click OK.
- Save the project files.
Code the Main Method to Open the JFrame
Open the java file that contains the main method. For this example, the file is JavaAppFlareHtml5Help.java. The main method should create and show an instance of the JFrame. Change the main method to this:
    public static void main(String[] args) {
        JFrameHtml5Example frame = new JFrameHtml5Example();
        frame.setVisible(true);
    }
Create a Flare Project to Build the Help
Create a new Flare project with the Empty template. Use HTML5 as the default target.
- Select File > New Project. The Start New Project Wizard appears.
- For the name, enter java-example.
- Click Next.
- Under Source, select New from template and select Empty.
- Click Next.
- For the primary target, select HTML5.
- Click Finish.
Add an extra topic named extra-topic.htm and set that as the default topic on the HTML5 target. This ensures the default topic is not the topic opened by the application. That demonstrates the application opens a specific topic and not just the default.
- Right-click the Content folder in Content Explorer and select New > Topic. The Add File screen appears.
- In the File Name field, enter extra-topic.
- Click Add.
- Save the topic.
- In the Project Organizer within the Targets folder, double-click the HTML5 target to open it in the Target Editor.
- On the General tab in the Startup Topic field, select extra-topic.
- Save the target.
Set the topic alias. Open the alias file and assign Topic.htm to the identifier in the alias file. The header file will update when the alias file is saved.
- From the Project Organizer within the Advanced > CSH folder, double-click the AliasFile.flali file. The alias file appears in an editor.
- In the alias file editor, navigate to the Topic.htm file and right-click the file.
- From the menu, select Assign topic to selected identifier.
- Save the alias file.
- In the Target Editor for the HTML5 target on the General tab, change the name of the output file to java-app-help.
- In the Target Editor for the HTML5 target on the General tab, change the Startup Topic to extra-topic.htm.
MadCap Software: Creating and Assigning Identifiers
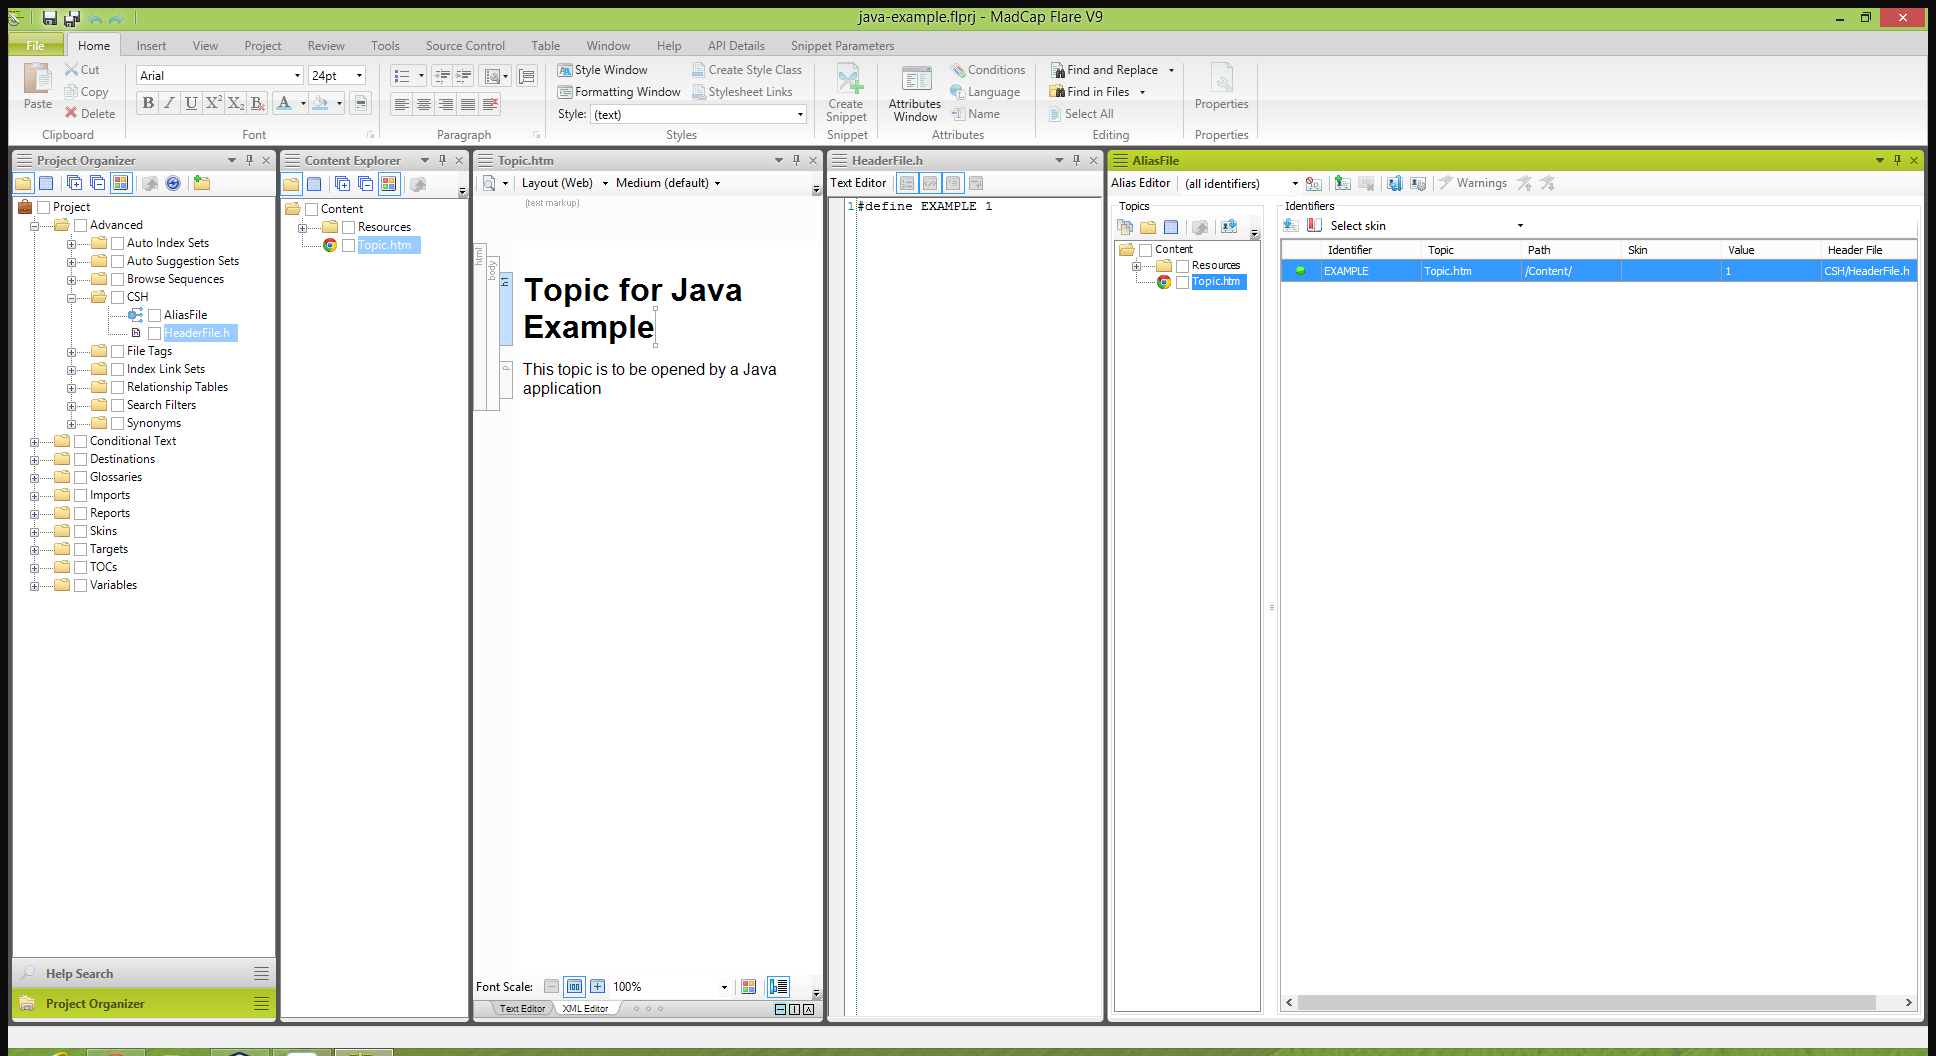
A handful of changes were made to the template for this example. Some of the changes are shown in the screen shot that follows. The order of items in the screen shot is:
- Project Organizer
- Content Explorer
- Topic.htm in XML Editor
- HeaderFile.h in Header Editor
- AliasFile.flali in Alias Editor
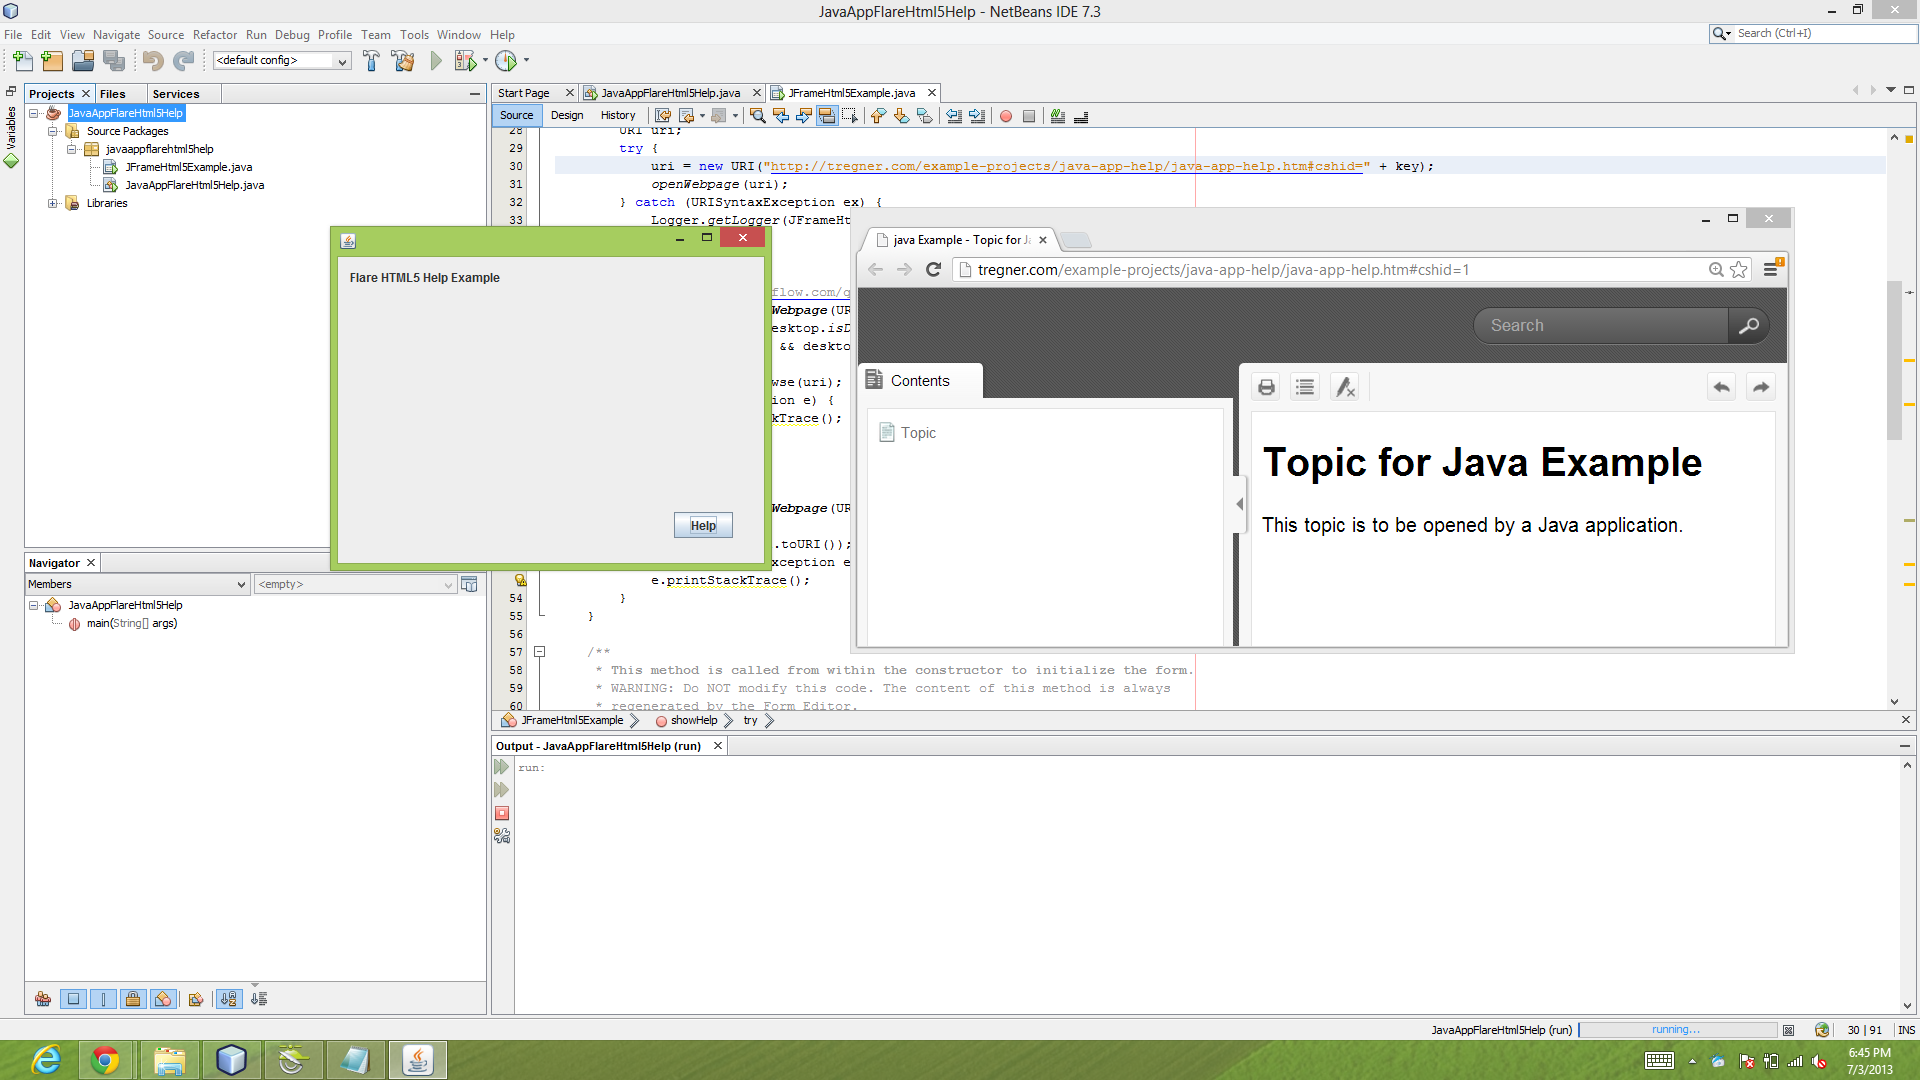
Test the Application and Help
Build the target an place the output somewhere. Adjust the path in the showHelp method to reflect the location of the help files.
    public void showHelp(String key){
        URI uri;
        try {
            uri = new URI("http://tregner.com/example-projects/java-app-help/java-app-help.htm#cshid=" + key);
            openWebpage(uri);
        } catch (URISyntaxException ex) {
            Logger.getLogger(JFrameHtml5Example.class.getName()).log(Level.SEVERE, null, ex);
        }
    }
To run the program from the IDE, with the project open and active, select Run > Run Project.
Downloads: